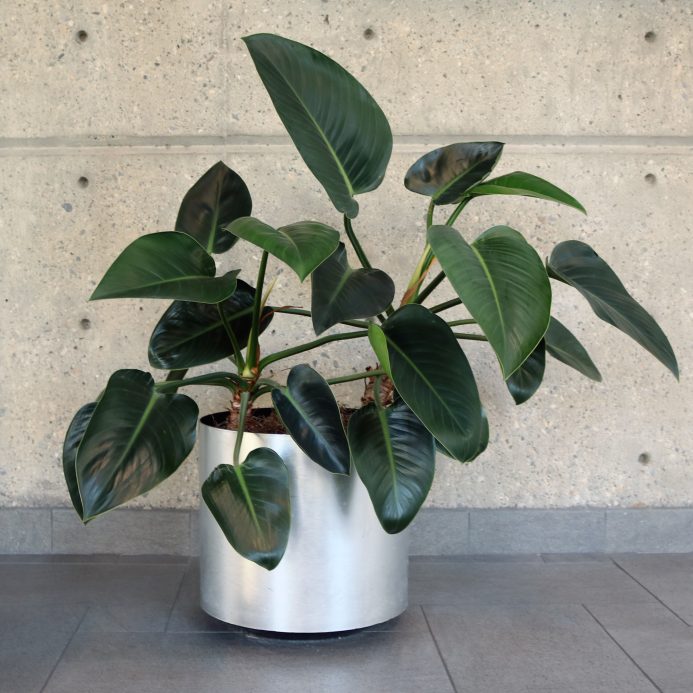
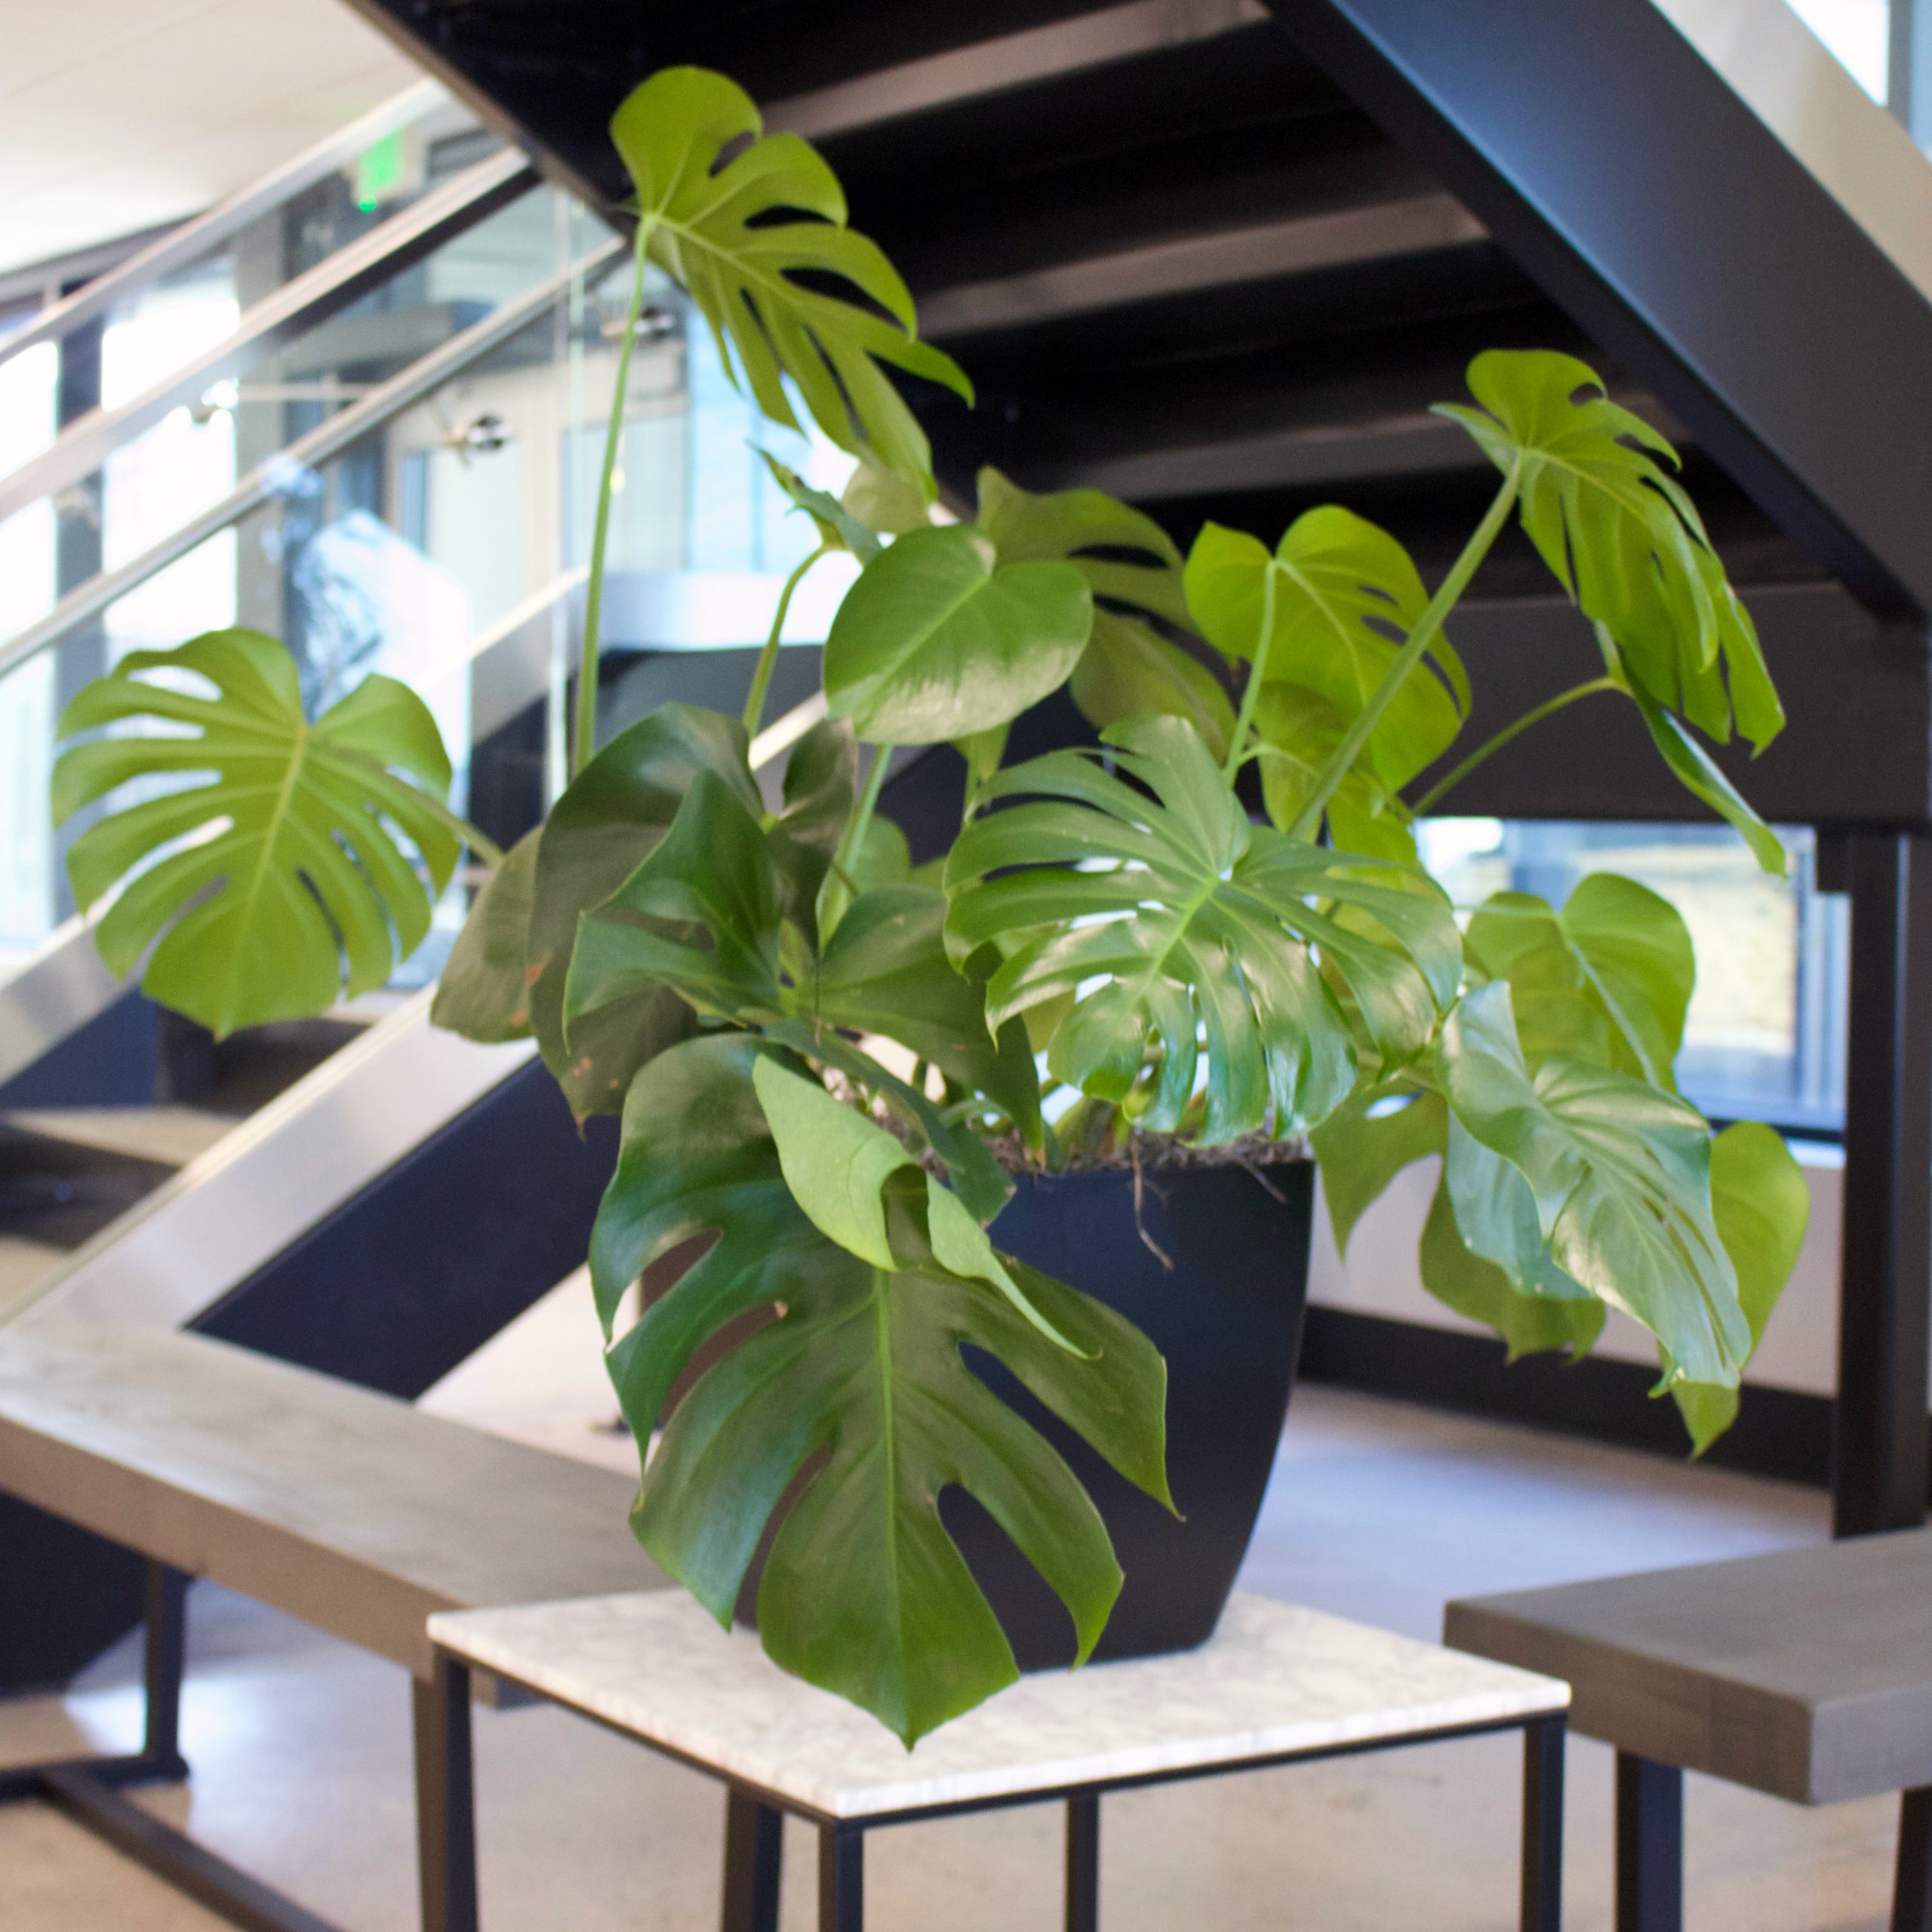
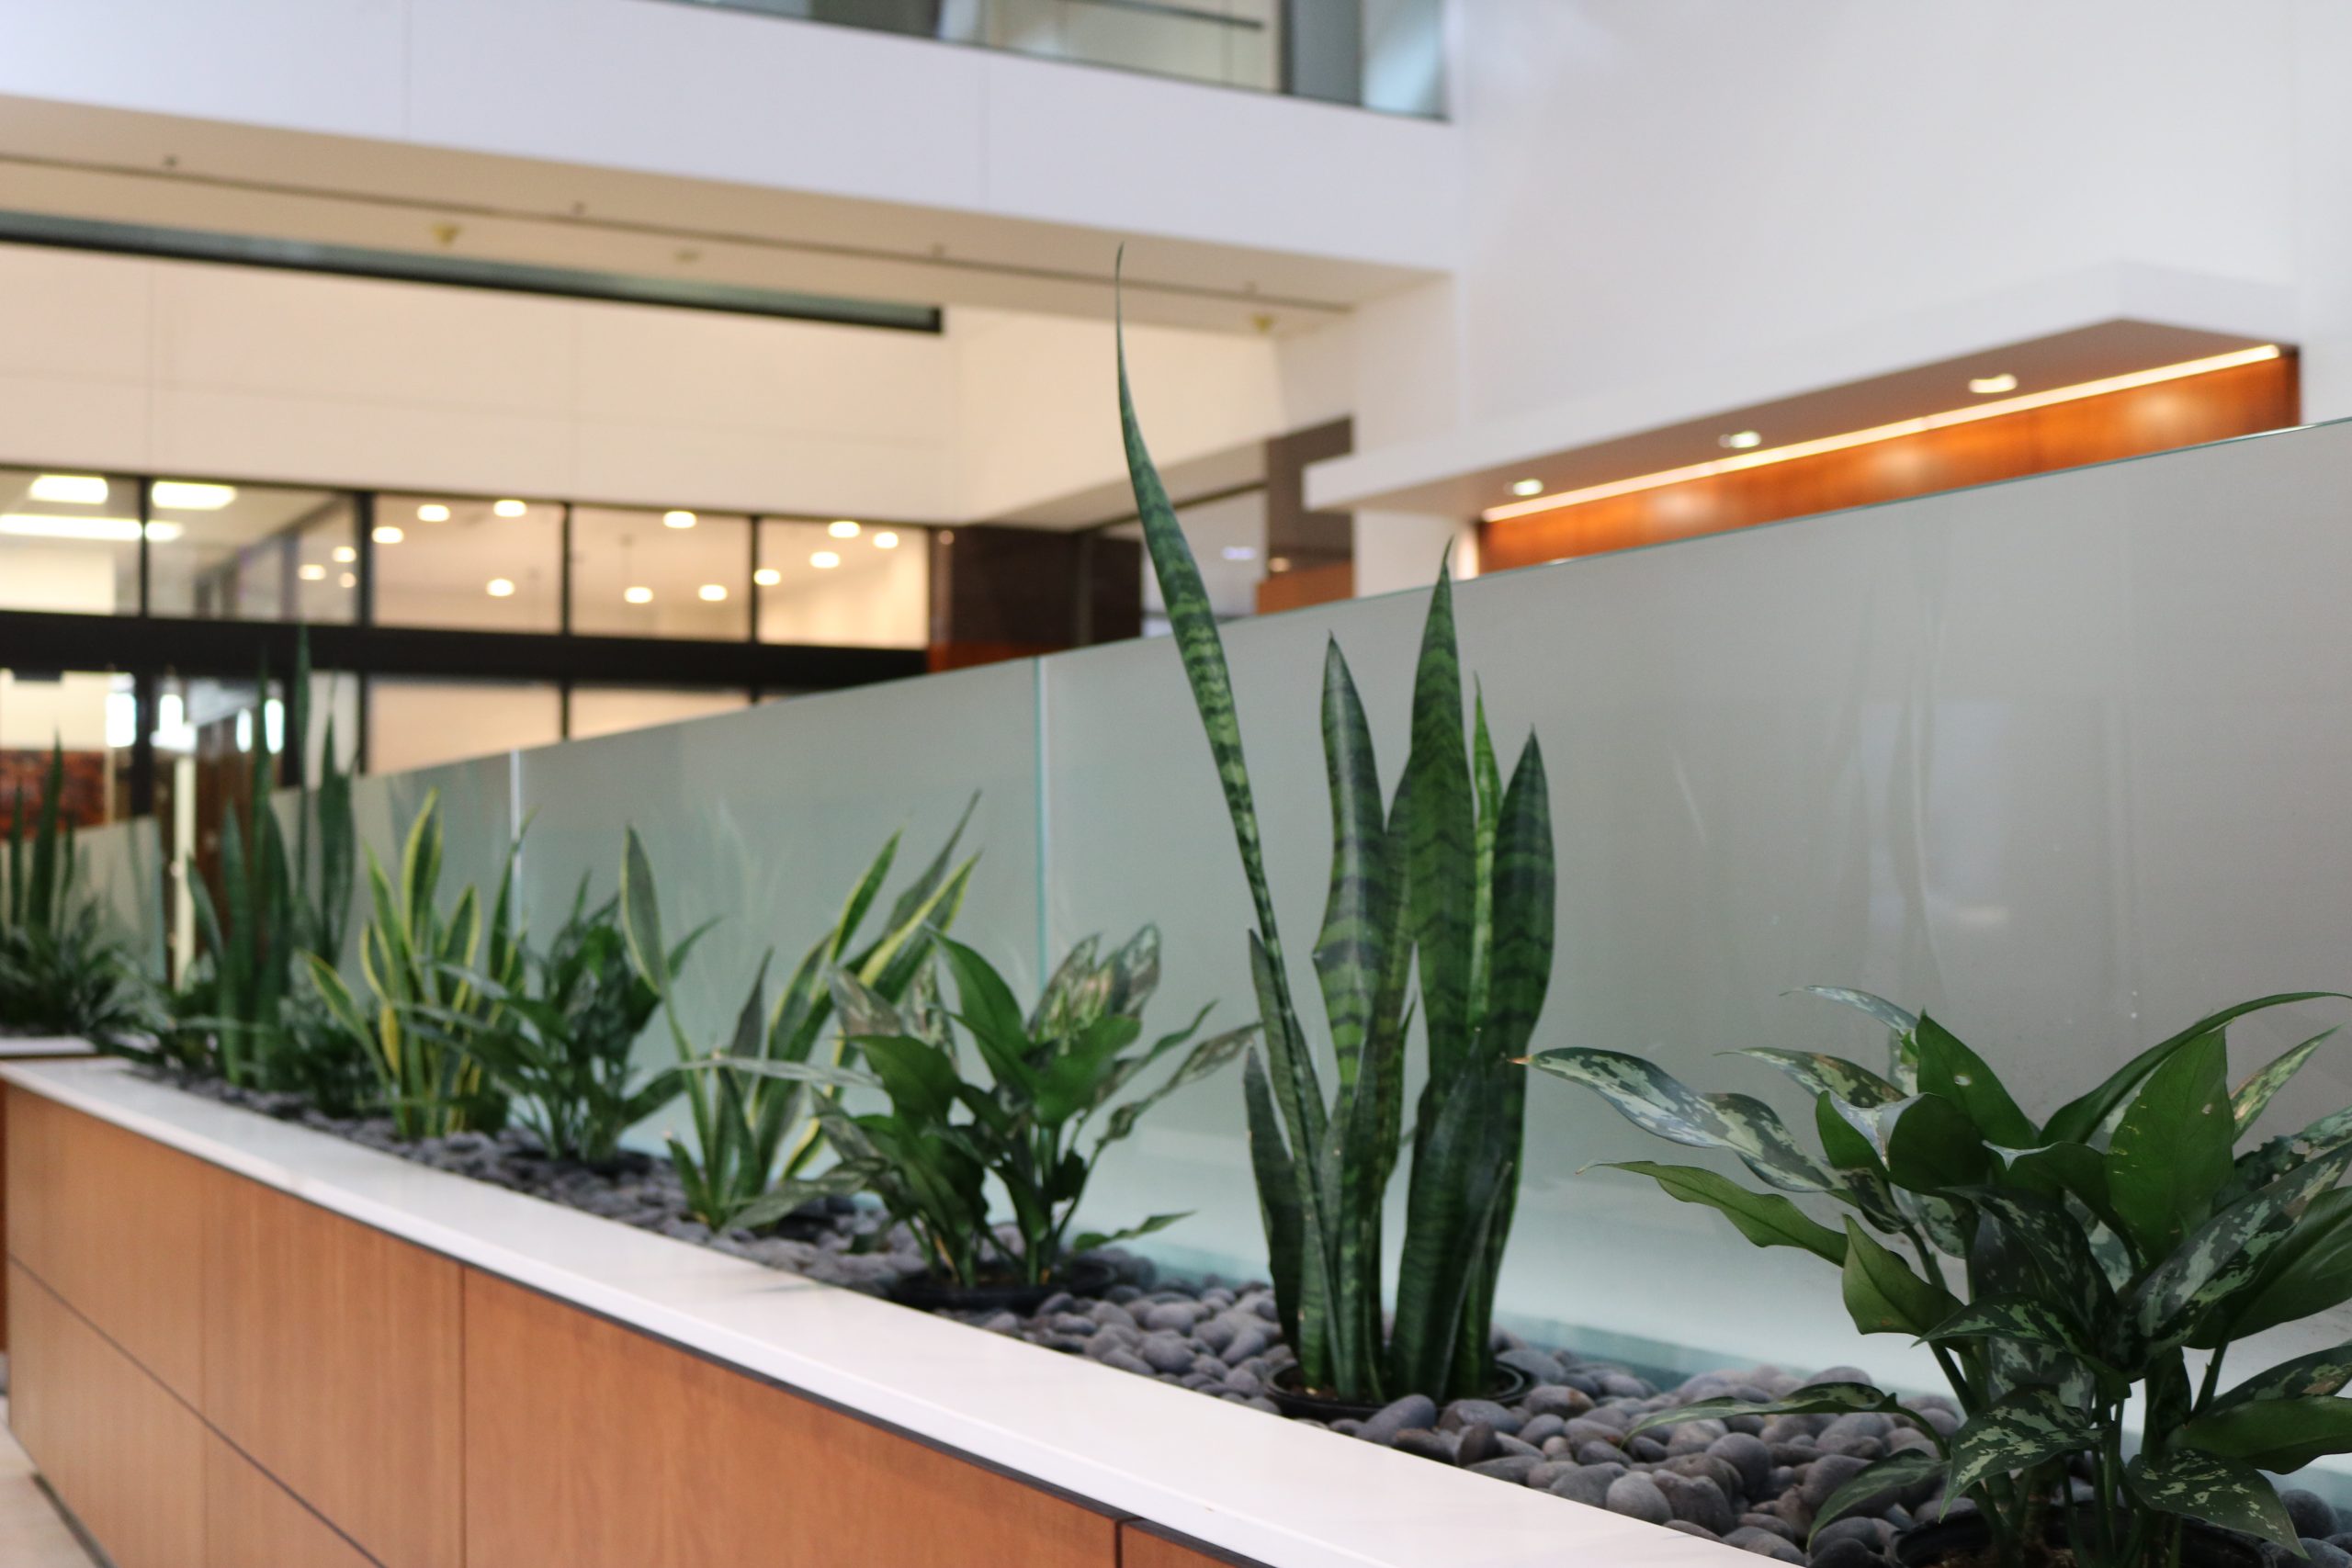
With our Service Guarantee, the plants in your office are always healthy and beautiful. In addition, with our guaranteed maintenance, plants will be replaced when they are not looking their best.
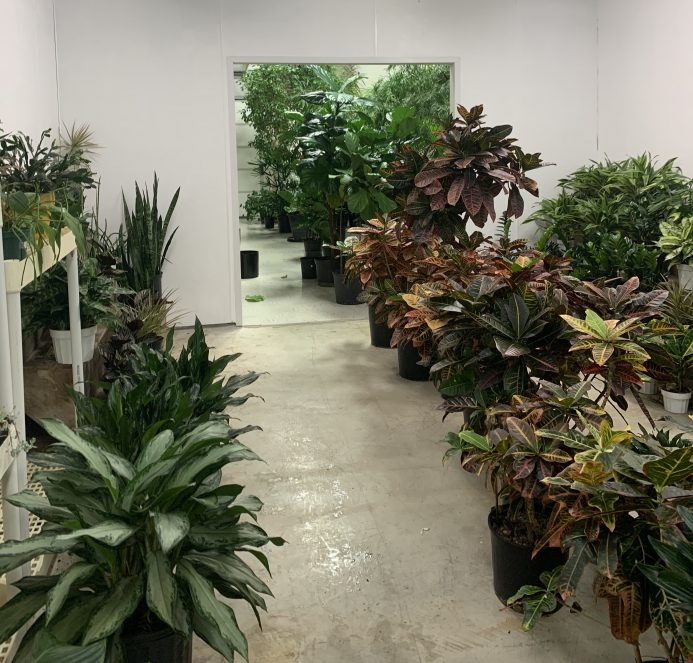
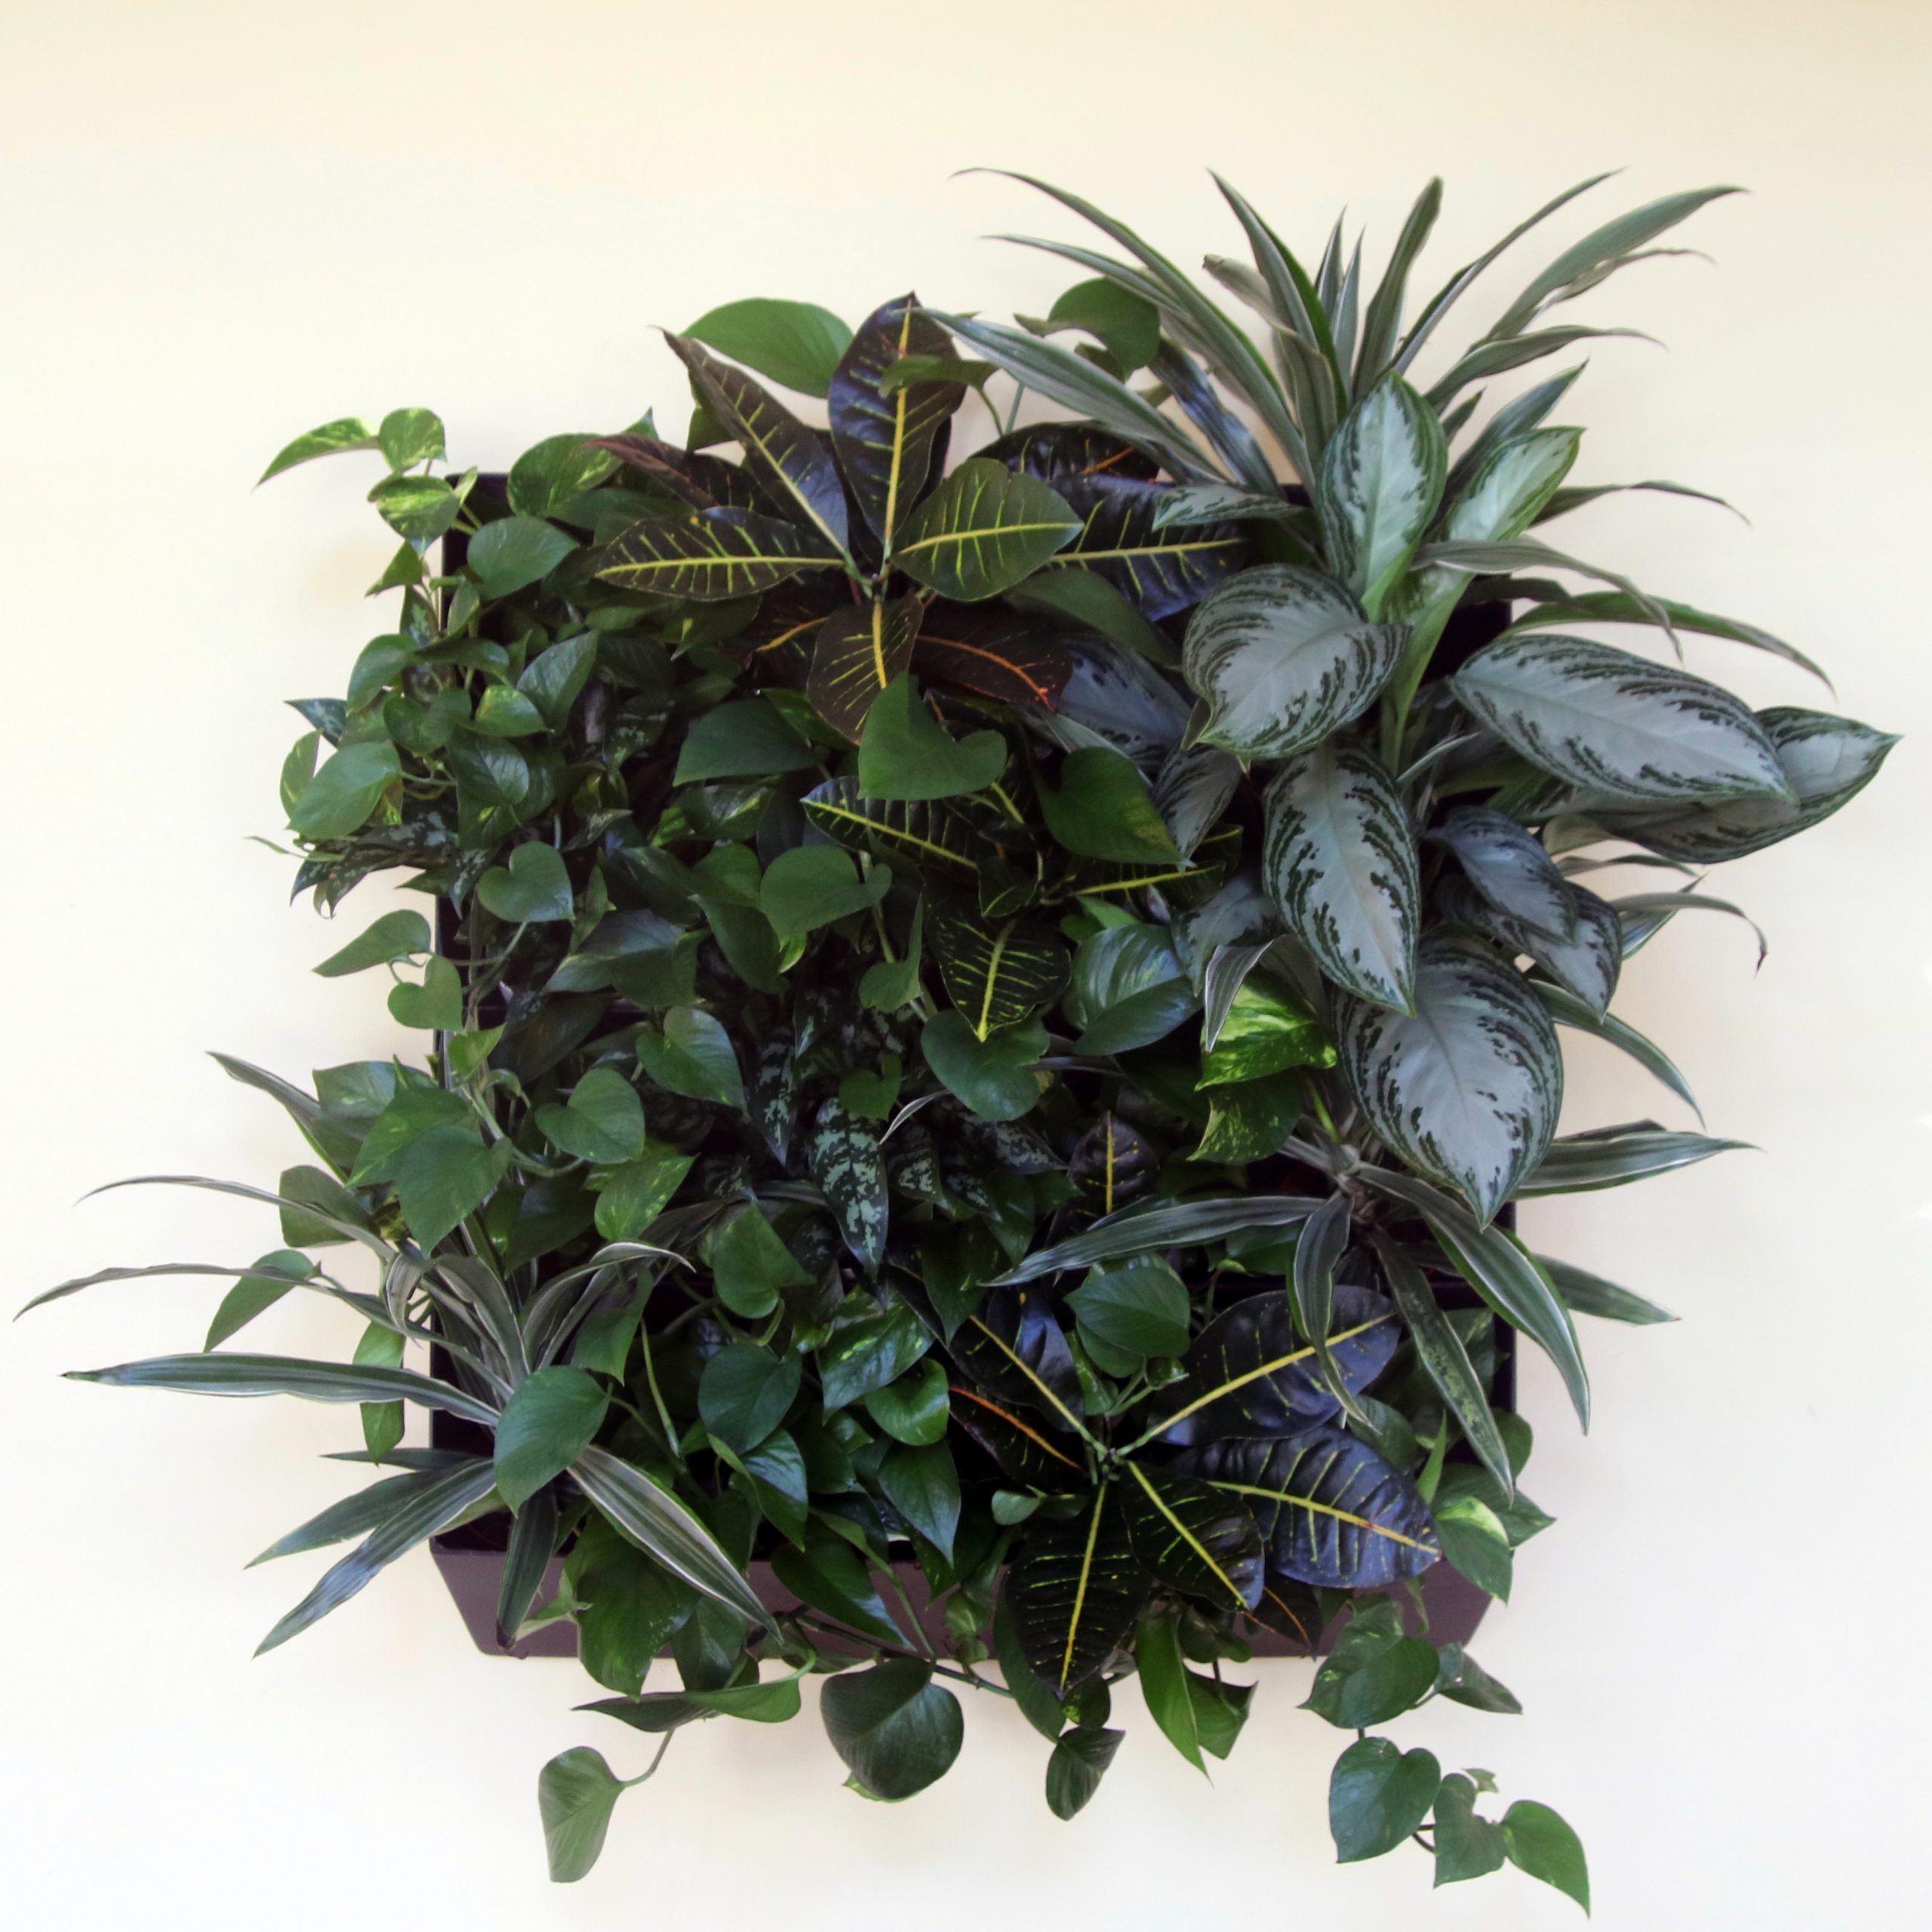
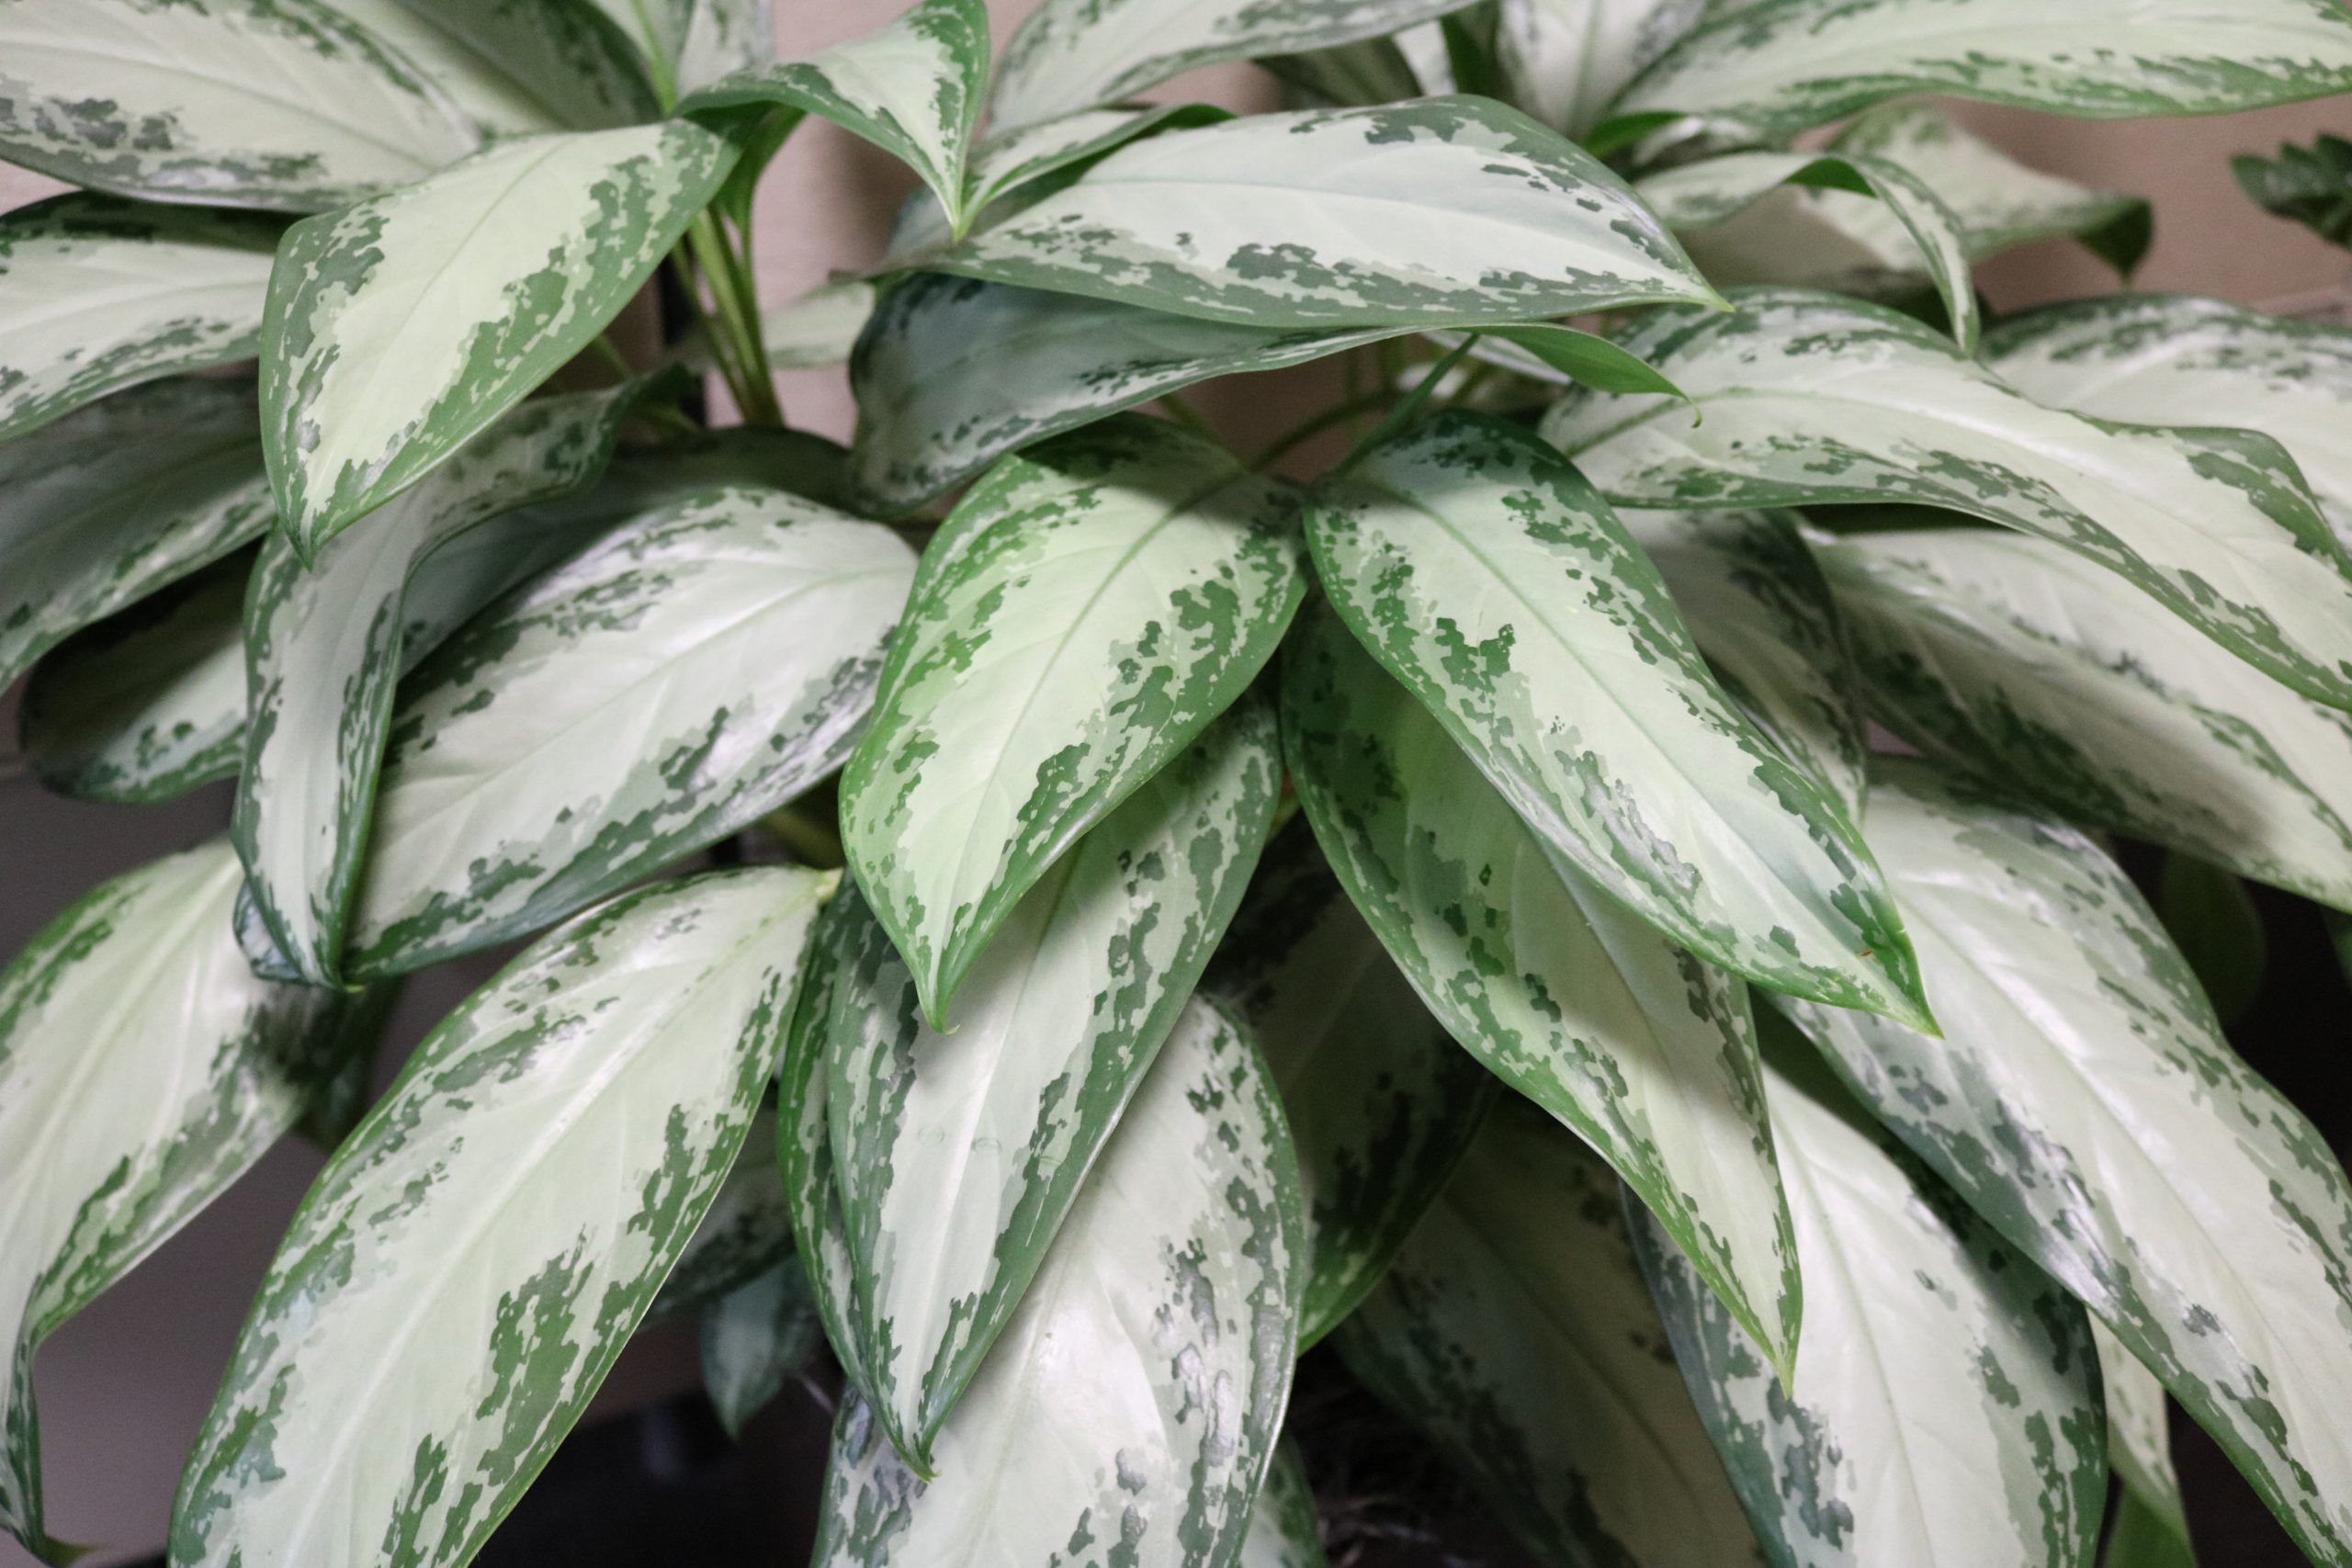
From our first days in the mid-’70’s selling house plants and macrame to today, Intermountain Plant Works has had the same goal: to provide the best in interior landscape products and services at a fair price.
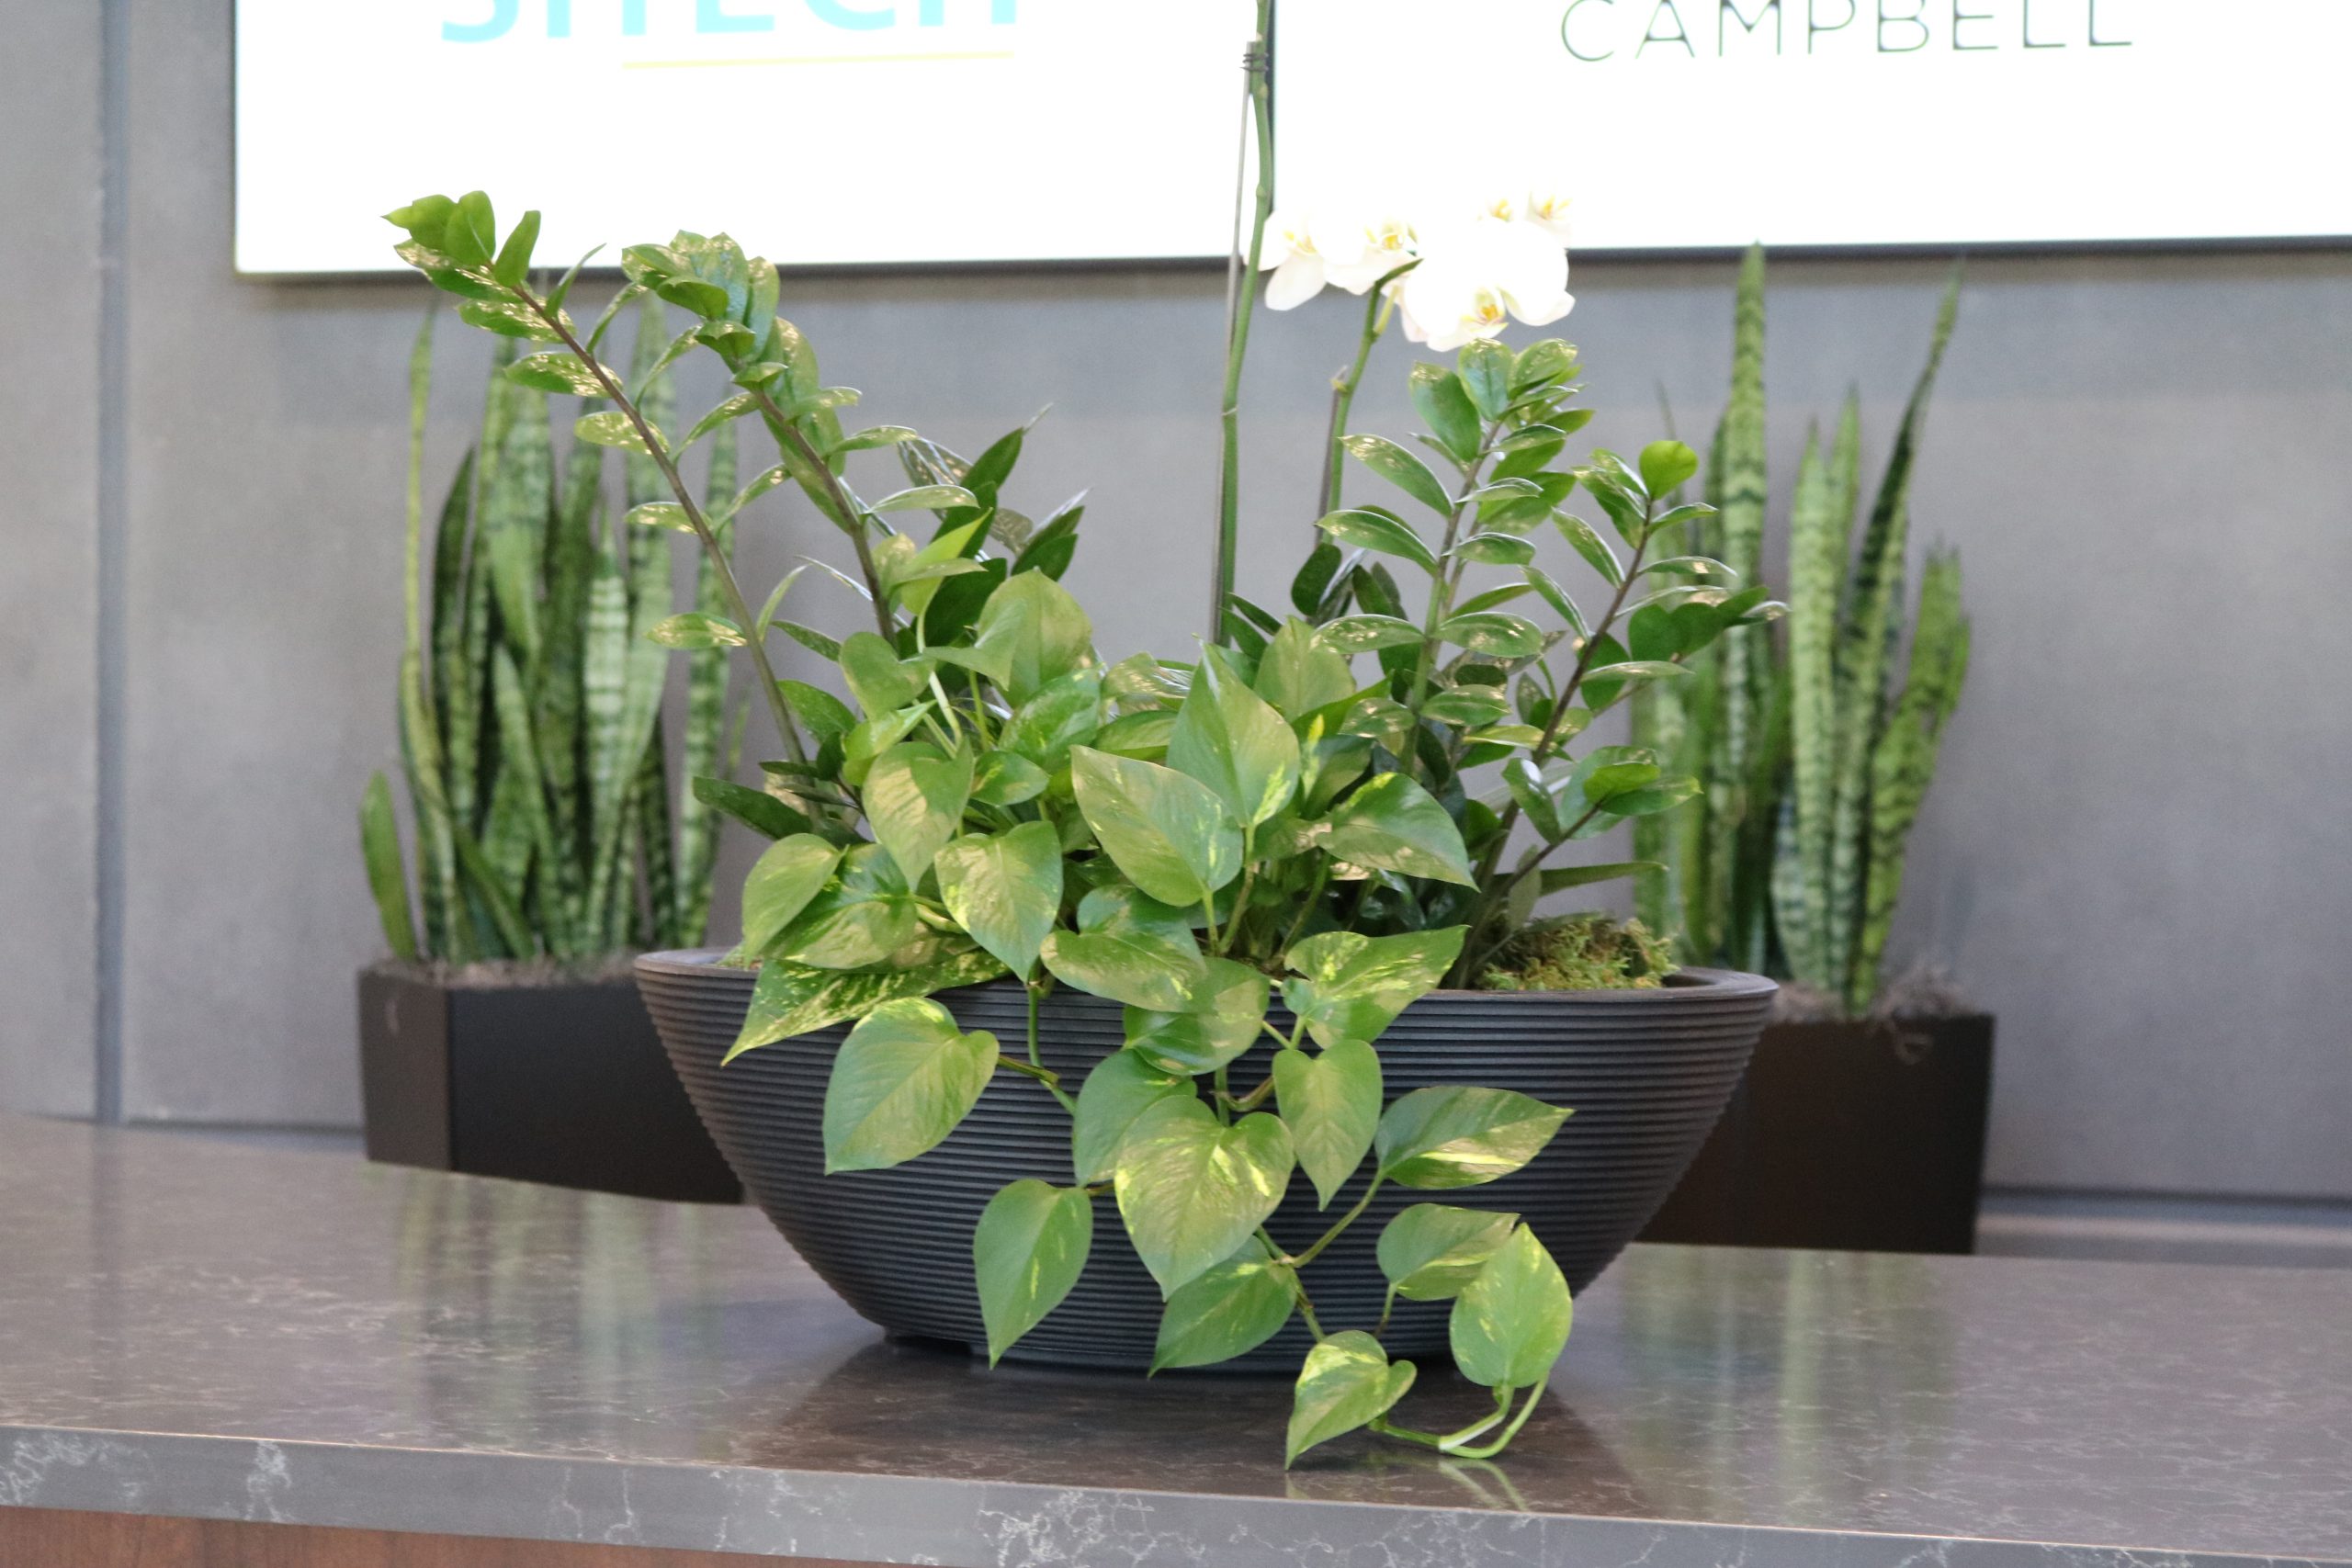
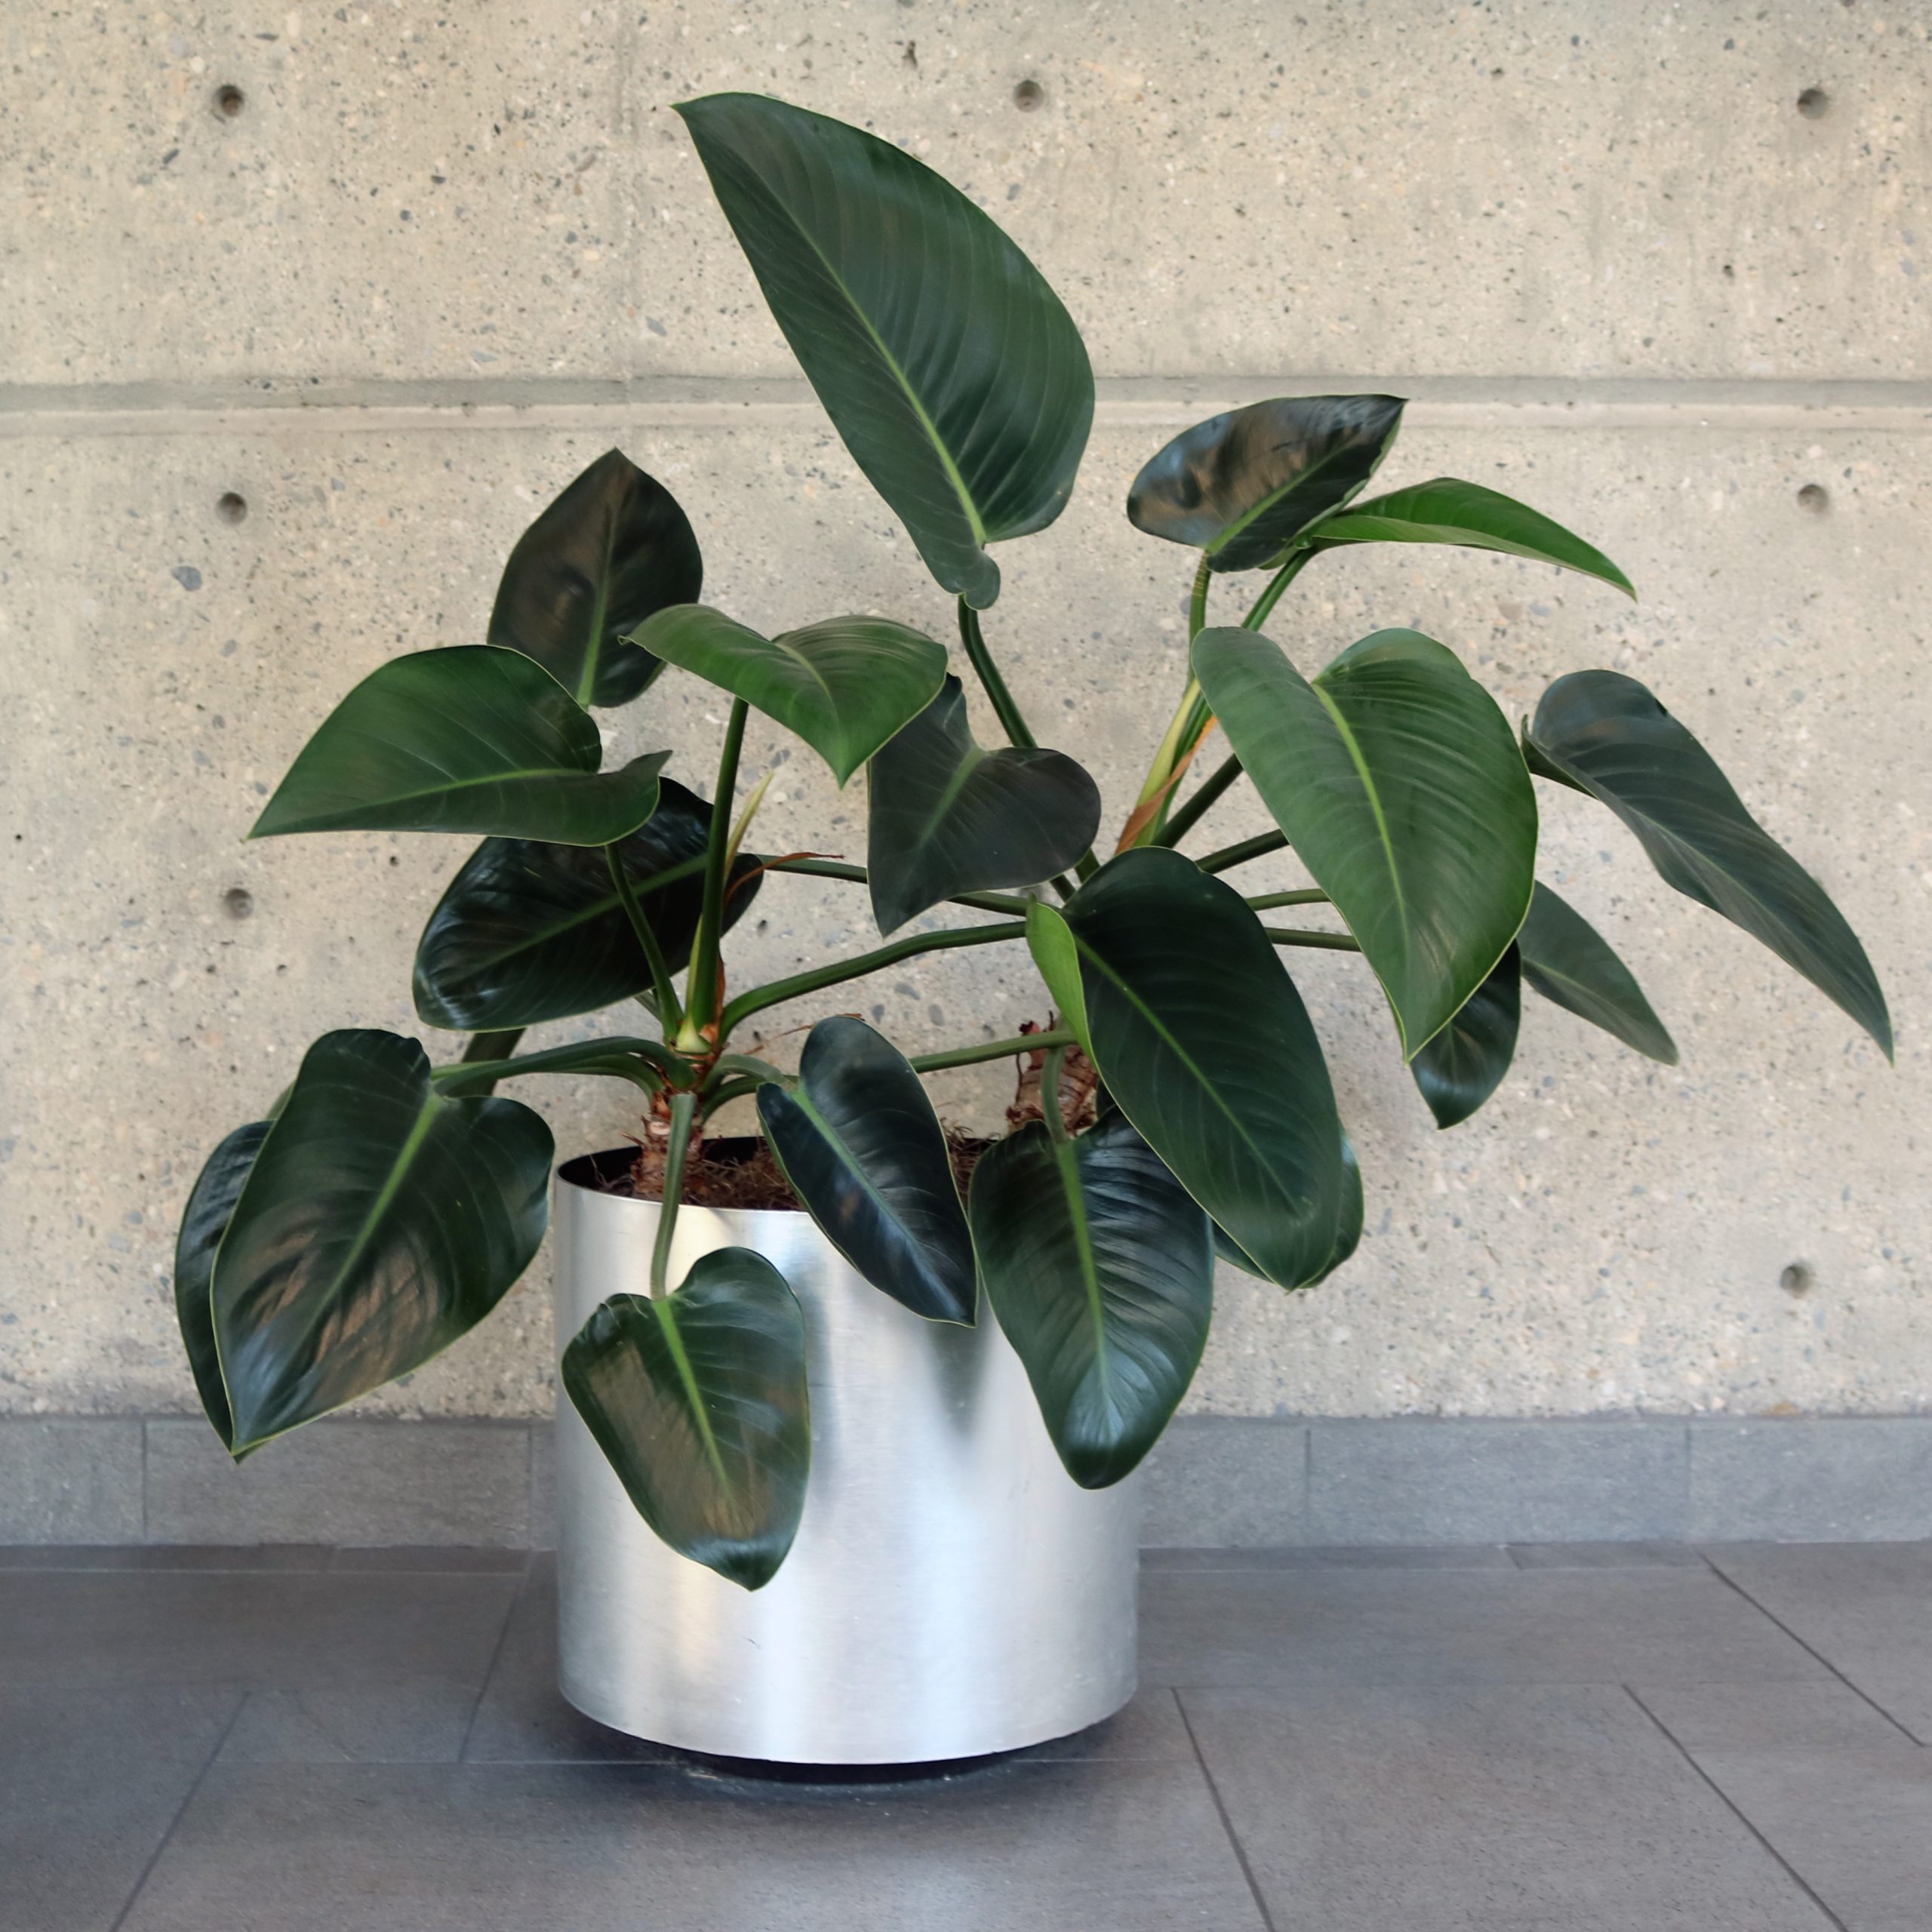
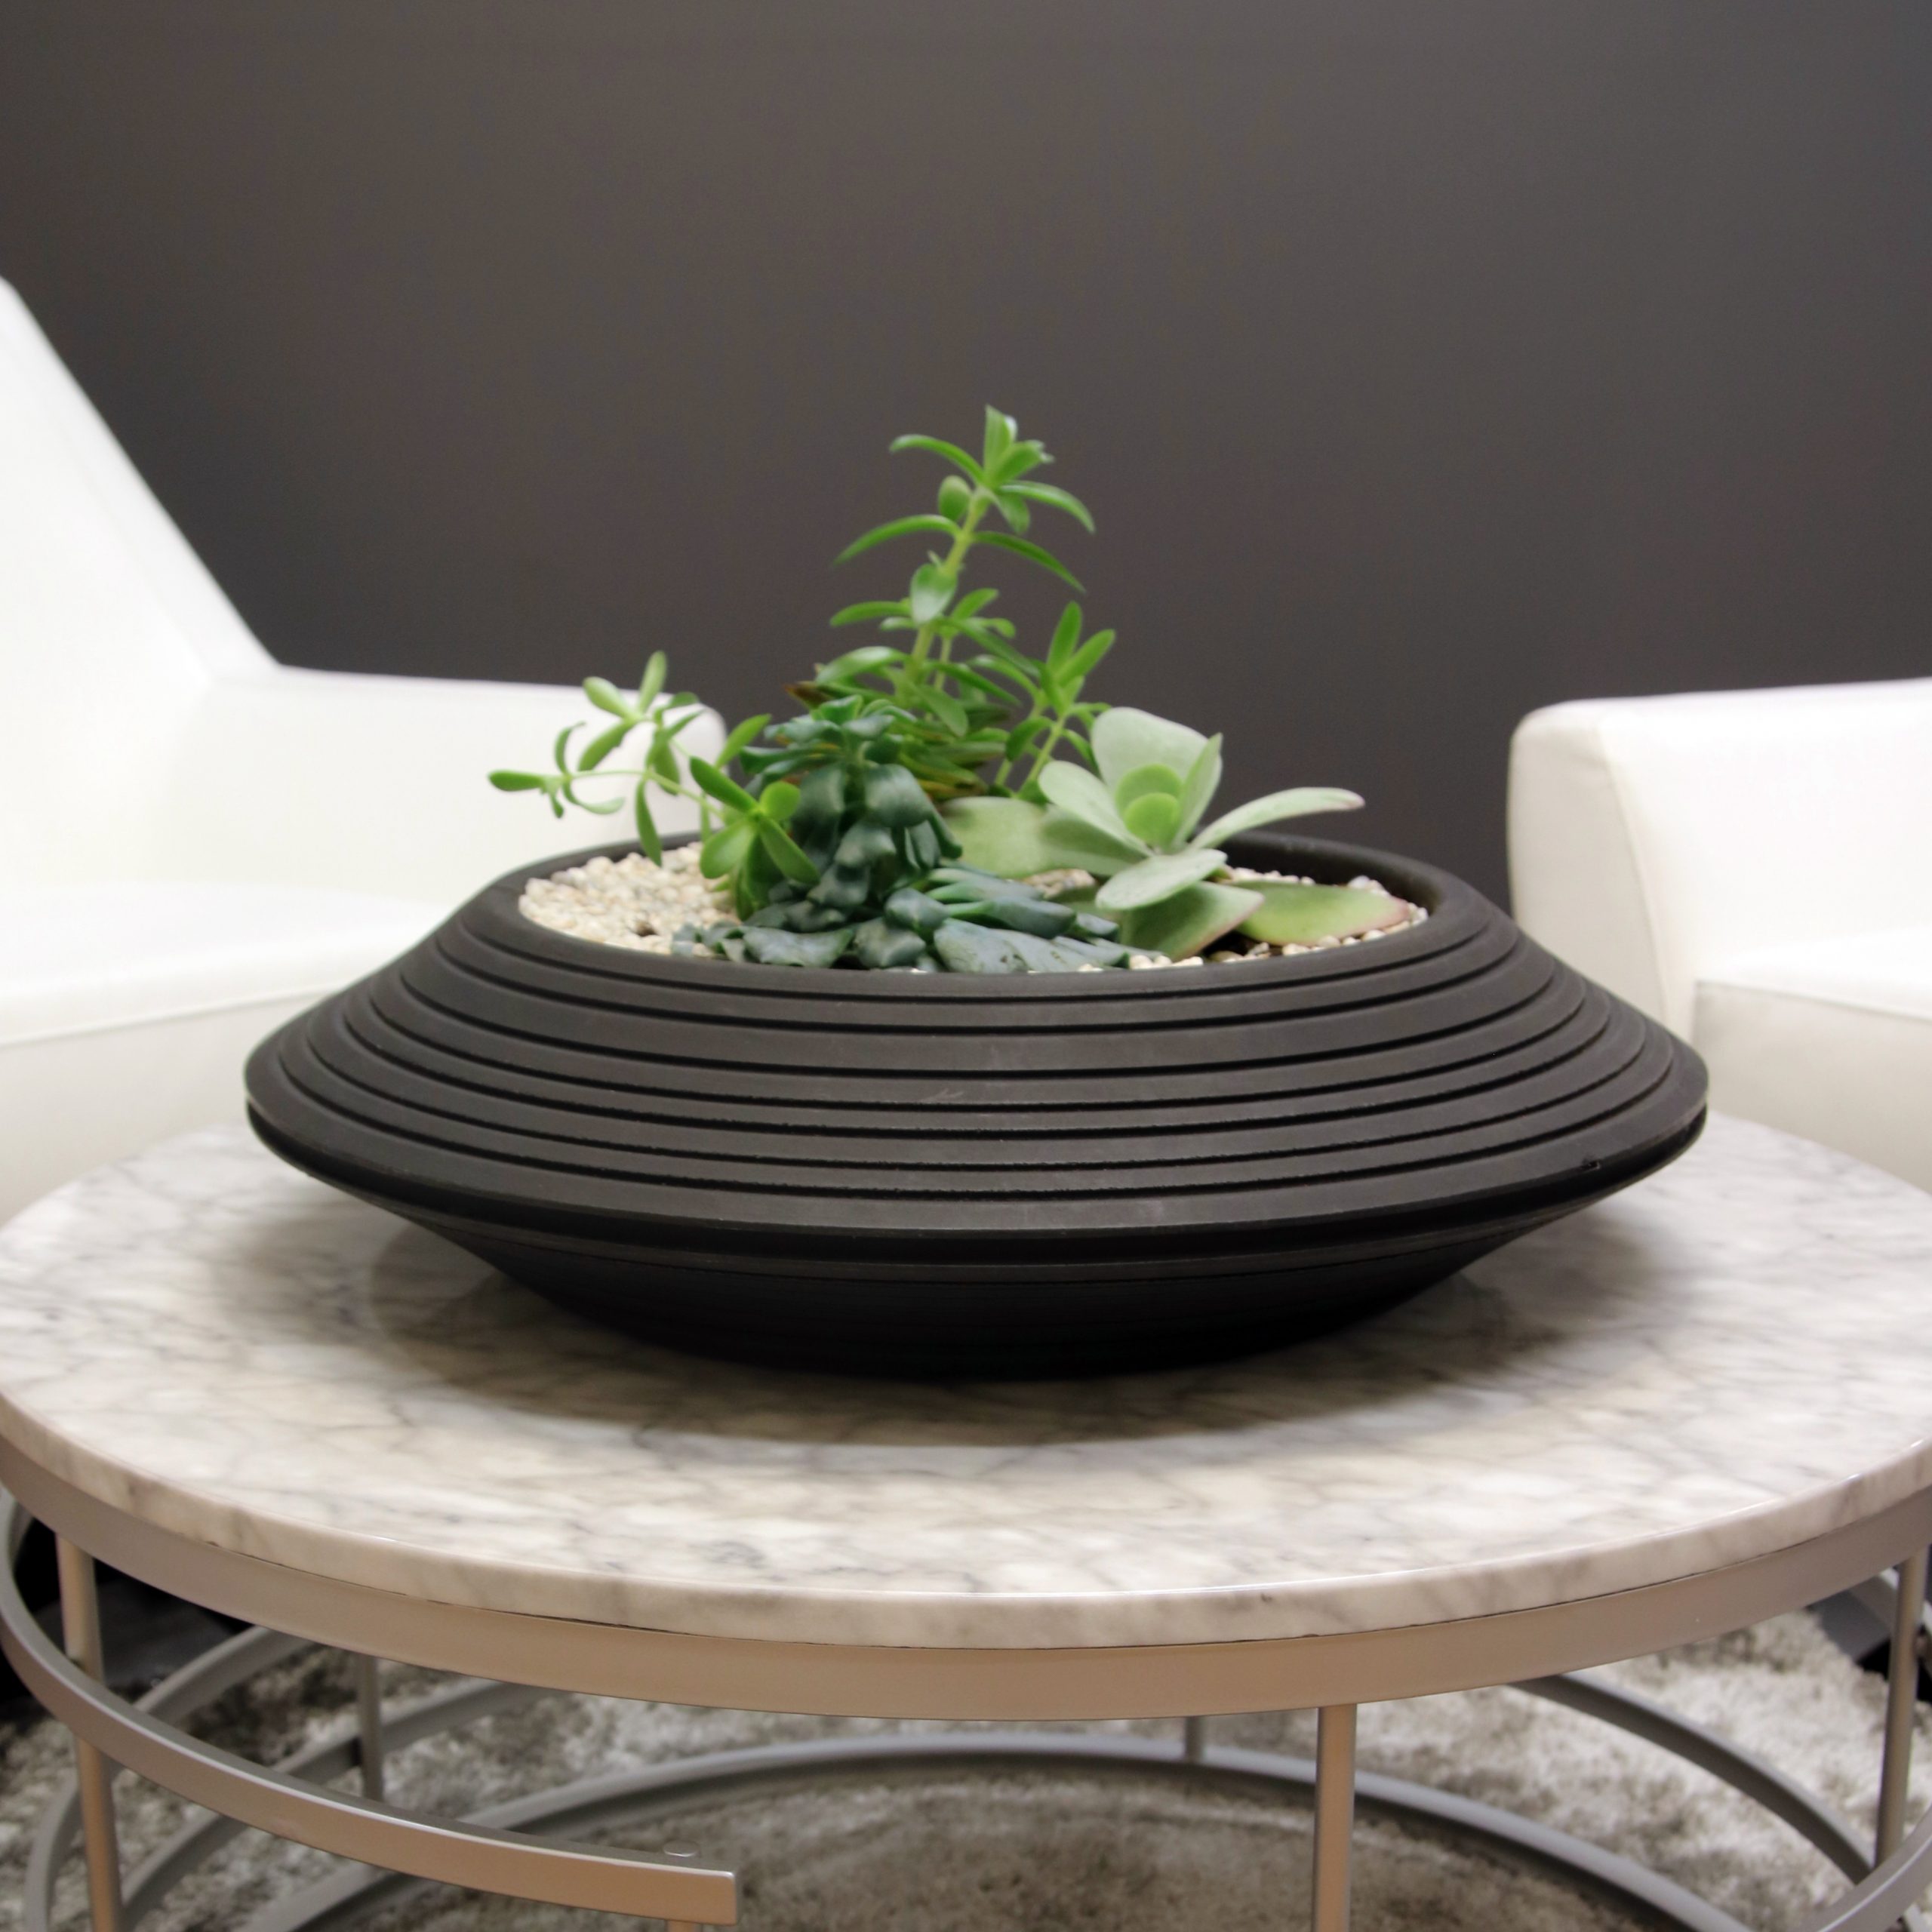
We absolutely love Intermountain Plant Works! They are so easy to work with. Our company has used them to do two installs and the results are completely breathtaking. It is amazing how alive plants make a room feel! The plants are beautiful, as are the containers. The staff is friendly and respectful. The continual service is excellent!